Your cart is currently empty!
Perfect Hard Boiled Eggs: Timing Guide & Troubleshooting
Mastering the Perfect Hard Boiled Egg
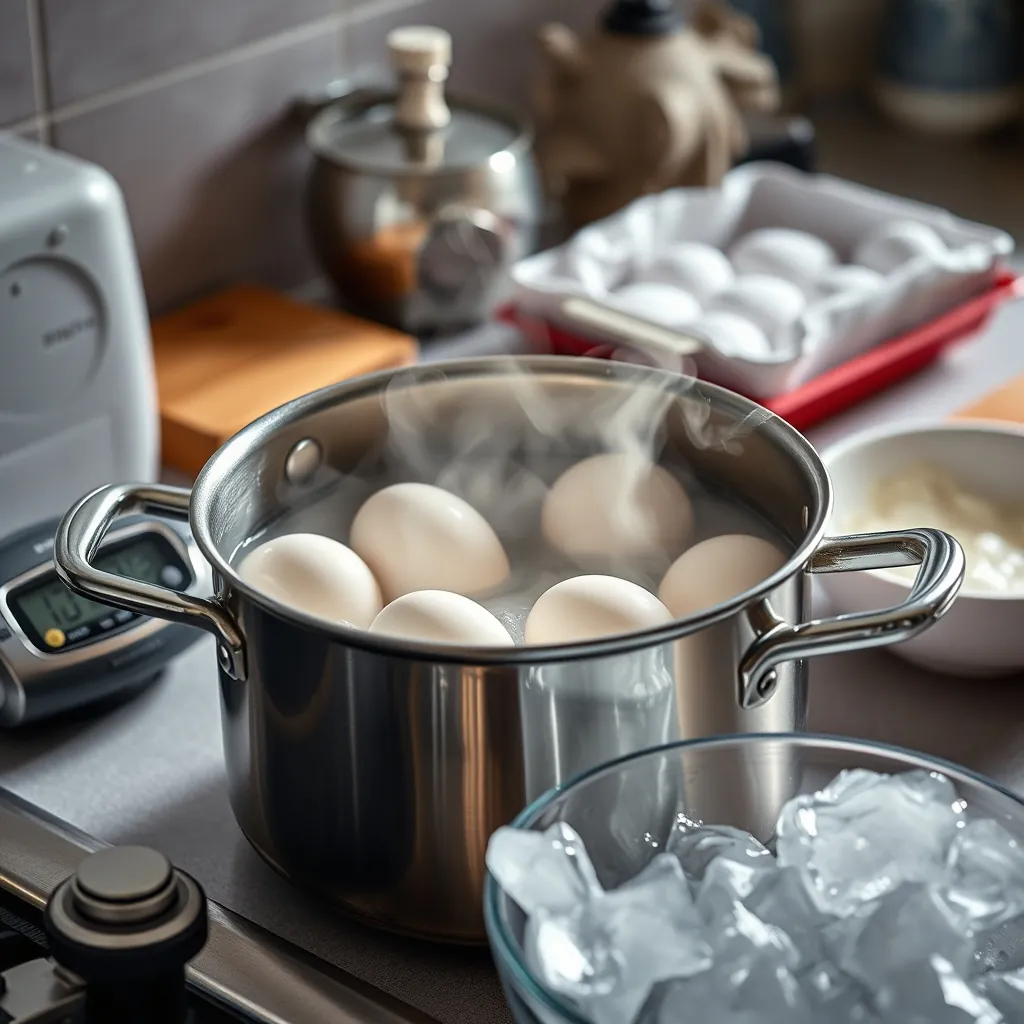
A perfectly cooked hard boiled egg is a kitchen fundamental. It elevates salads, makes a quick protein-packed snack, and forms the base of classic deviled eggs. Yet achieving that consistent result every single time often feels like a gamble. You have dealt with green yolks, cracked shells, or stubborn peeling that tears the white apart. The problem is not your technique. It is a lack of precise control over time and temperature.
This guide breaks down the science and the steps to get perfect hard boiled eggs on demand. We cover the exact timing for jammy yolks versus fully set centers. We address high altitude cooking. We provide a complete troubleshooting guide for every common problem. This is the only resource you need to stop guessing and start cooking with confidence.
The Core Method: Boiling and Steaming
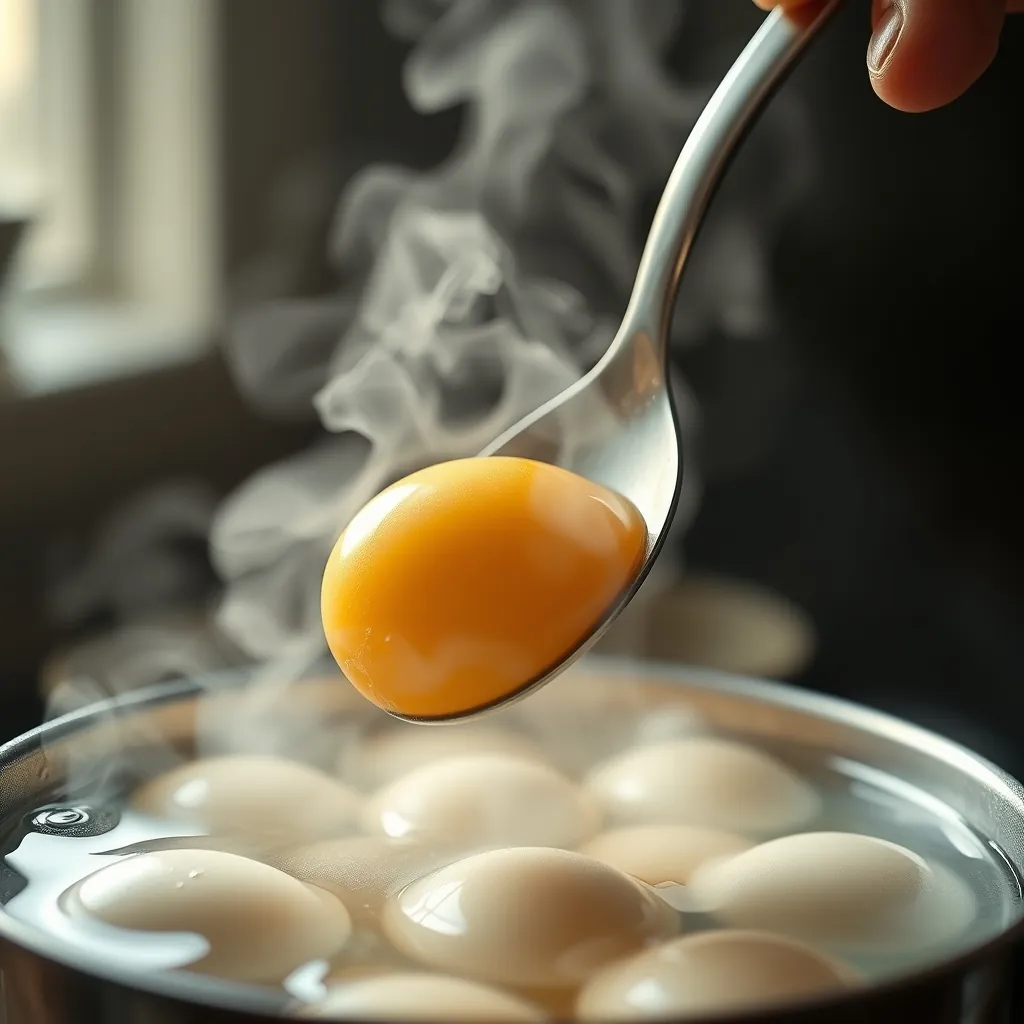
Two primary methods deliver consistent results. The classic boiling method and the steam method both work. The steam method offers a slight edge for easier peeling.
The Boiling Method
Bring a pot of water to a full rolling boil. Gently lower your eggs into the water using a slotted spoon. Reduce the heat to maintain a gentle simmer. Do not keep it at a violent boil. Cook for 9 to 12 minutes depending on your desired yolk consistency. A 9 minute egg has a jammy, slightly soft center. A 12 minute egg is fully hard with a dry, crumbly yolk.
The Steaming Method
Place a steamer basket in a pot with about an inch of water. Bring the water to a boil. Add the eggs to the basket, cover, and steam for exactly 12 minutes. The steam cooks the eggs evenly and the high heat helps separate the membrane from the shell. This makes peeling noticeably easier.
Timing for Specific Yolk Doneness
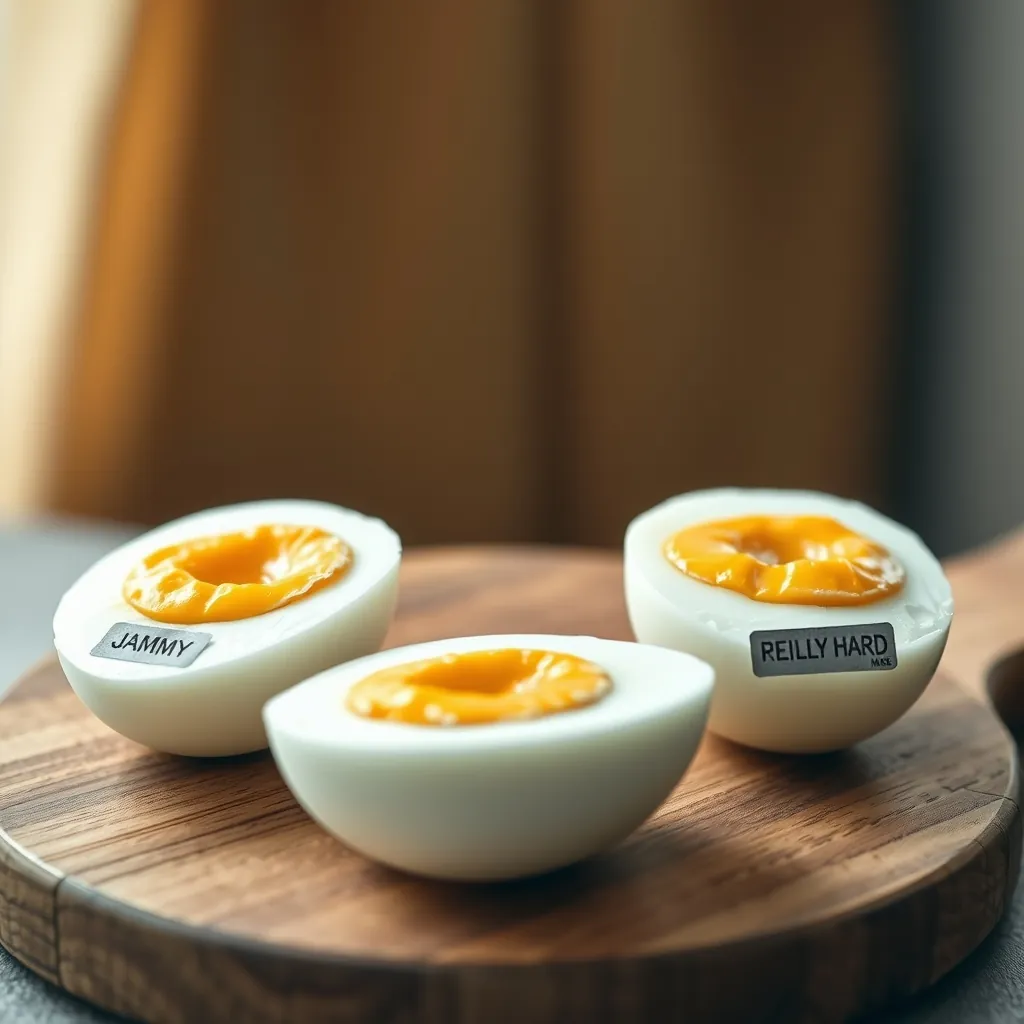
Precision matters. The difference between a creamy center and a chalky one is just a minute or two. Here is the breakdown for large eggs at sea level.
- 8 to 9 minutes: The white is fully set. The yolk is jammy and slightly runny in the center. Ideal for ramen or dipping toast.
- 10 to 11 minutes: The yolk is mostly set but still moist and soft. This is the classic “medium” hard boiled egg.
- 12 to 13 minutes: The yolk is fully set, firm, and dry. This is the standard for egg salad or deviled eggs.
Adjusting for High Altitude
Water boils at a lower temperature at higher elevations. At 3000 feet, water boils at roughly 206°F instead of 212°F. This lower temperature means your eggs need more time to cook. For every 1000 feet above 3000 feet, add approximately 1 minute of cooking time. At 5000 feet, a 12 minute egg at sea level needs about 14 minutes. Use a timer and test one egg first to dial in your exact altitude.
How to Peel Hard Boiled Eggs Easily
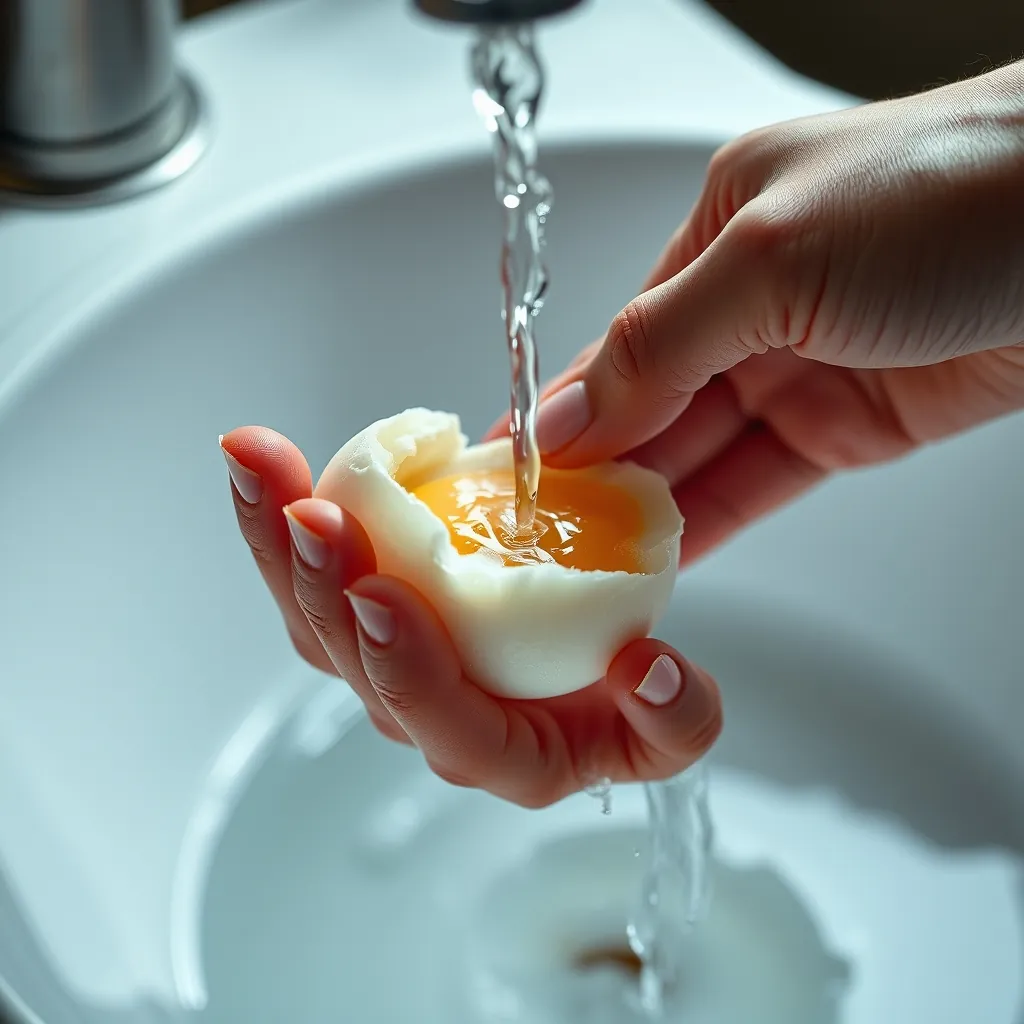
Peeling frustration ends with three simple tricks. First, use older eggs. Eggs that are 7 to 10 days old have a higher pH which makes the shell stick less. Second, add half a teaspoon of baking soda per quart of boiling water. The baking soda raises the pH further. Third, shock the cooked eggs in an ice bath for at least 5 minutes. The rapid temperature change contracts the egg slightly, separating it from the shell membrane.
To peel, crack the shell all over by rolling the egg gently on a countertop. Start peeling from the wider end where the air pocket sits. Peeling under cold running water helps wash away small shell fragments.
Comprehensive Troubleshooting Guide
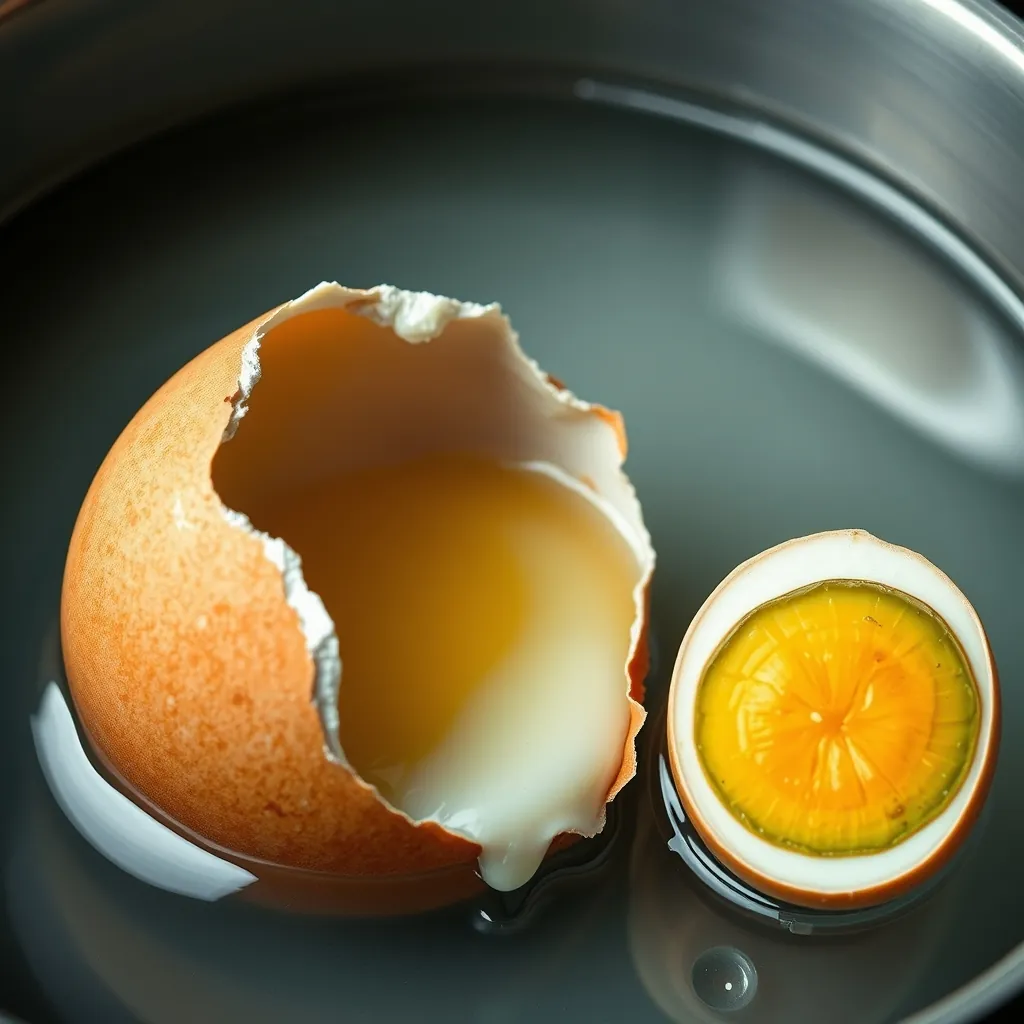
Even experienced cooks run into problems. Here are the most common issues and their specific fixes.
- Cracked shells: This happens from temperature shock or overcrowding. Always bring eggs to room temperature before boiling. Lower them gently. Do not crowd more than 6 large eggs in a standard 3 quart pot.
- Green ring around the yolk: This is a chemical reaction between iron in the yolk and sulfur in the white. It happens when eggs are overcooked or not cooled quickly. Use a precise timer and immediately transfer eggs to an ice bath.
- Difficult peeling: This is almost always caused by using very fresh eggs. Plan ahead. Buy your eggs a week before you plan to boil them. The ice bath and baking soda tricks also help.
- Rubbery whites: This is a sign of boiling at too high a temperature for too long. Always reduce the water to a gentle simmer after adding the eggs.
Cooking Large Batches of Eggs
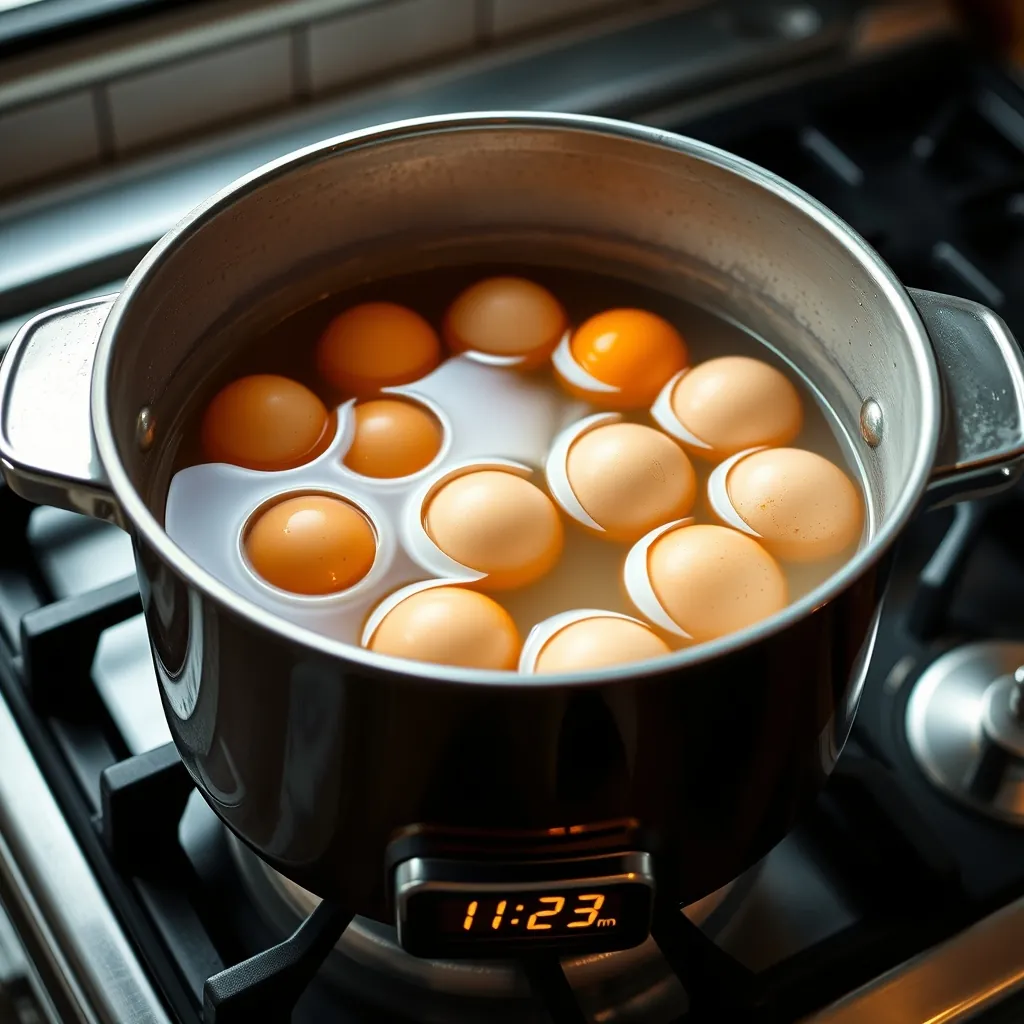
Cooking a dozen or more eggs requires a slightly different approach. Overcrowding leads to uneven cooking and cracked shells. Use a large pot, at least 6 quarts. Bring the water to a boil. Add the eggs in a single layer. They must not be stacked. Increase the cooking time by 1 to 2 minutes for a batch of 12 eggs. The larger volume of cold eggs lowers the water temperature more significantly. After cooking, transfer the eggs to a large bowl of ice water. Use enough ice to keep the water cold for the full cooling time.
How to Store Hard Boiled Eggs
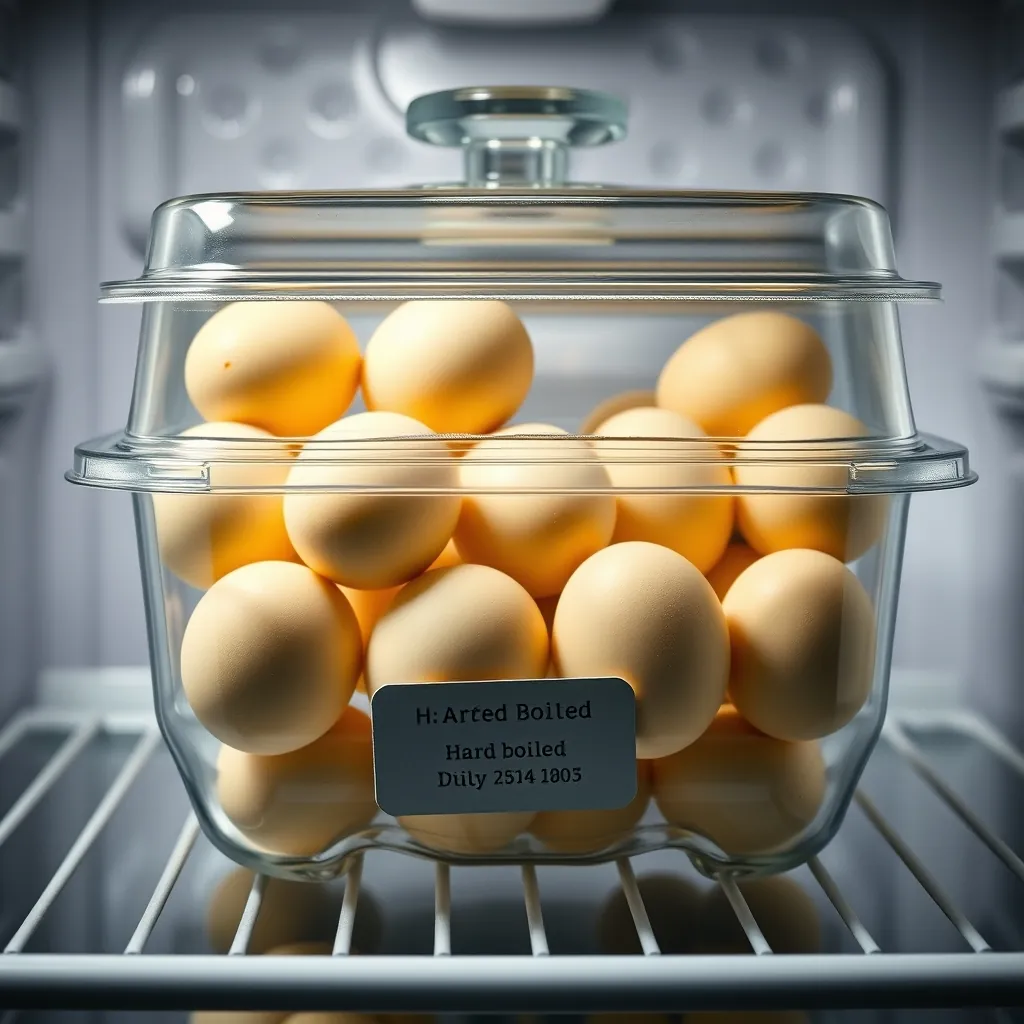
Hard boiled eggs stay fresh in the refrigerator for up to one week. Keep them in the shell for maximum shelf life. Store them in a covered container. Do not store them in the refrigerator door where temperatures fluctuate. If you have peeled them, place them in a bowl of cold water. Change the water daily to keep them fresh for up to 5 days.
Final Tips for Consistent Results
Perfect hard boiled eggs are not a mystery. They are a matter of controlled variables. Use a timer. Use an ice bath. Choose older eggs. These three elements alone eliminate the majority of common failures.
For high altitude cooking, add time. For large batches, use a bigger pot and add a minute or two. For specific yolk textures, know your exact minute targets. A jammy 9 minute egg and a fully set 12 minute egg come from the same method, just different timing.
Stop searching for a magic trick. Apply this precise, tested approach and you will get perfect results every single time. Your egg salad, your deviled eggs, and your breakfast routine will thank you.
Häufig gestellte Fragen zu perfekten hartgekochten Eiern
Warum bekommen meine hartgekochten Eier einen grünen Ring um das Eigelb?
Der grüne Ring entsteht durch eine chemische Reaktion zwischen Eisen im Eigelb und Schwefel im Eiweiß. Dies passiert bei Überkochen oder zu langsamem Abkühlen. Verwenden Sie eine genaue Timer-Einstellung und schrecken Sie die Eier sofort in einem Eisbad ab.
Wie bekomme ich hartgekochte Eier leicht geschält?
Drei Tricks helfen: Verwenden Sie Eier, die 7–10 Tage alt sind. Geben Sie einen halben Teelöffel Backpulver pro Liter Kochwasser hinzu. Schrecken Sie die gekochten Eier mindestens 5 Minuten in einem Eisbad. Dies löst die Schale von der Membran.
Wie lange muss ich Eier in großer Höhe kochen?
Wasser kocht in höheren Lagen bei niedrigeren Temperaturen. Ab 3000 Fuß Höhe fügen Sie pro 1000 Fuß etwa 1 Minute Kochzeit hinzu. Bei 5000 Fuß benötigt ein 12-Minuten-Ei auf Meereshöhe etwa 14 Minuten. Testen Sie ein Ei zuerst, um die genaue Zeit für Ihre Höhe zu finden.
Warum platzen meine Eier beim Kochen auf?
Aufplatzen entsteht durch Temperaturschock oder Überfüllung des Topfes. Lassen Sie die Eier vor dem Kochen Zimmertemperatur annehmen. Senken Sie sie vorsichtig mit einem Löffel ins Wasser. Kochen Sie nicht mehr als 6 große Eier in einem 3-Liter-Topf.
Wie lagere ich hartgekochte Eier richtig?
Hartgekochte Eier bleiben im Kühlschrank bis zu einer Woche frisch. Bewahren Sie sie in der Schale in einem geschlossenen Behälter auf. Lagern Sie sie nicht in der Kühlschranktür. Geschälte Eier können Sie bis zu 5 Tage in einer Schüssel mit kaltem Wasser aufbewahren, das Sie täglich wechseln.
Leave a Reply