Your cart is currently empty!
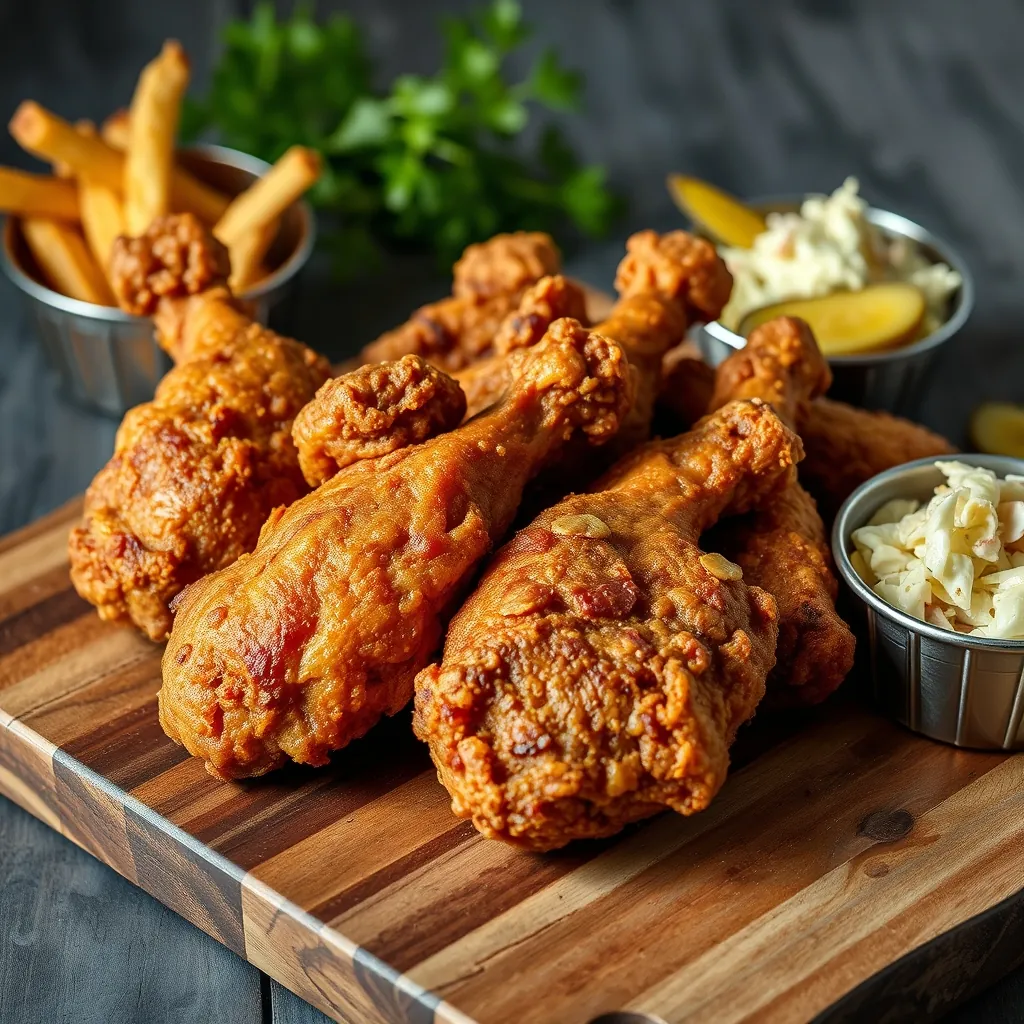
The Ultimate Crispy Fried Chicken Recipe (2024)
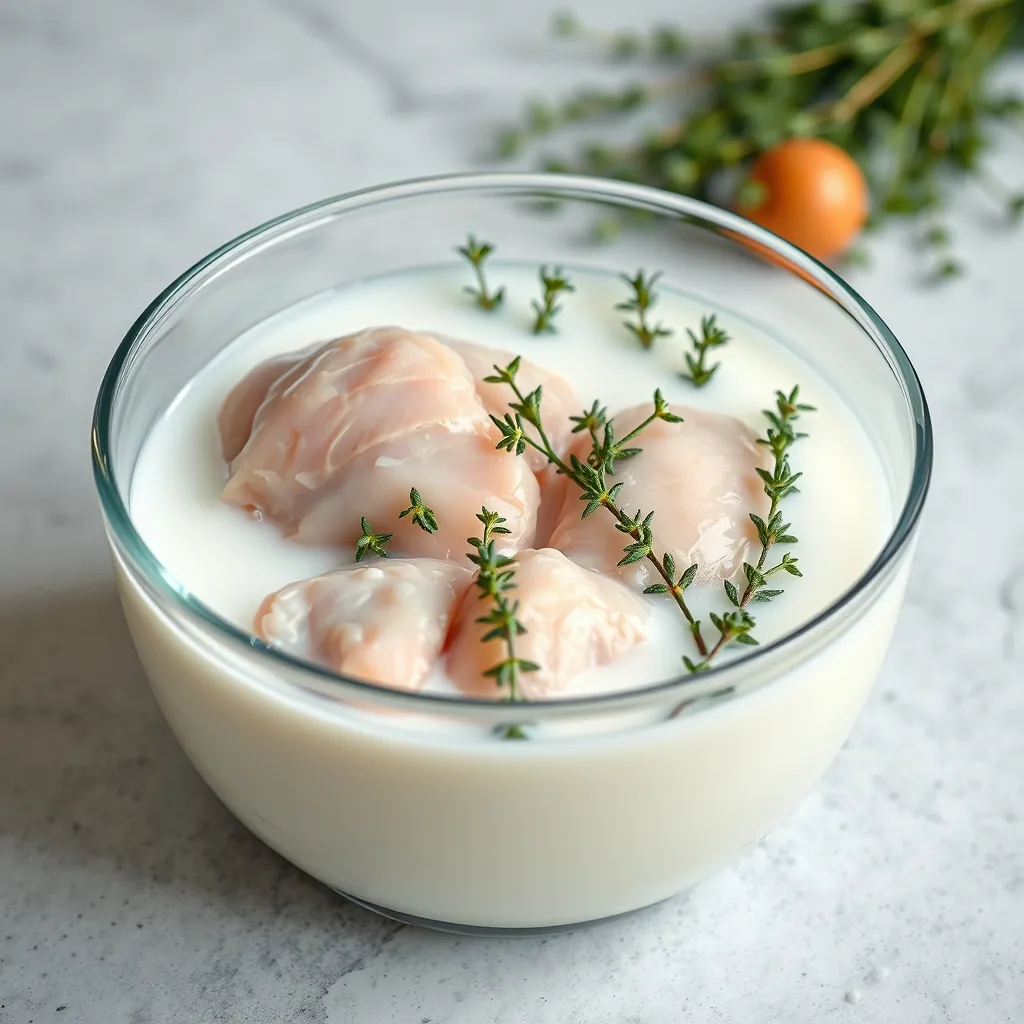
The Buttermilk Advantage
Great fried chicken starts long before the oil heats. Soaking chicken pieces in buttermilk for at least four hours, or overnight, does two essential jobs. First, the acid in the buttermilk tenderizes the meat, breaking down tough proteins. Second, the thick liquid clings to the skin, creating a sticky base for your flour coating. This simple step guarantees a juicy interior and a crust that stays put.
Building the Perfect Flour Coating
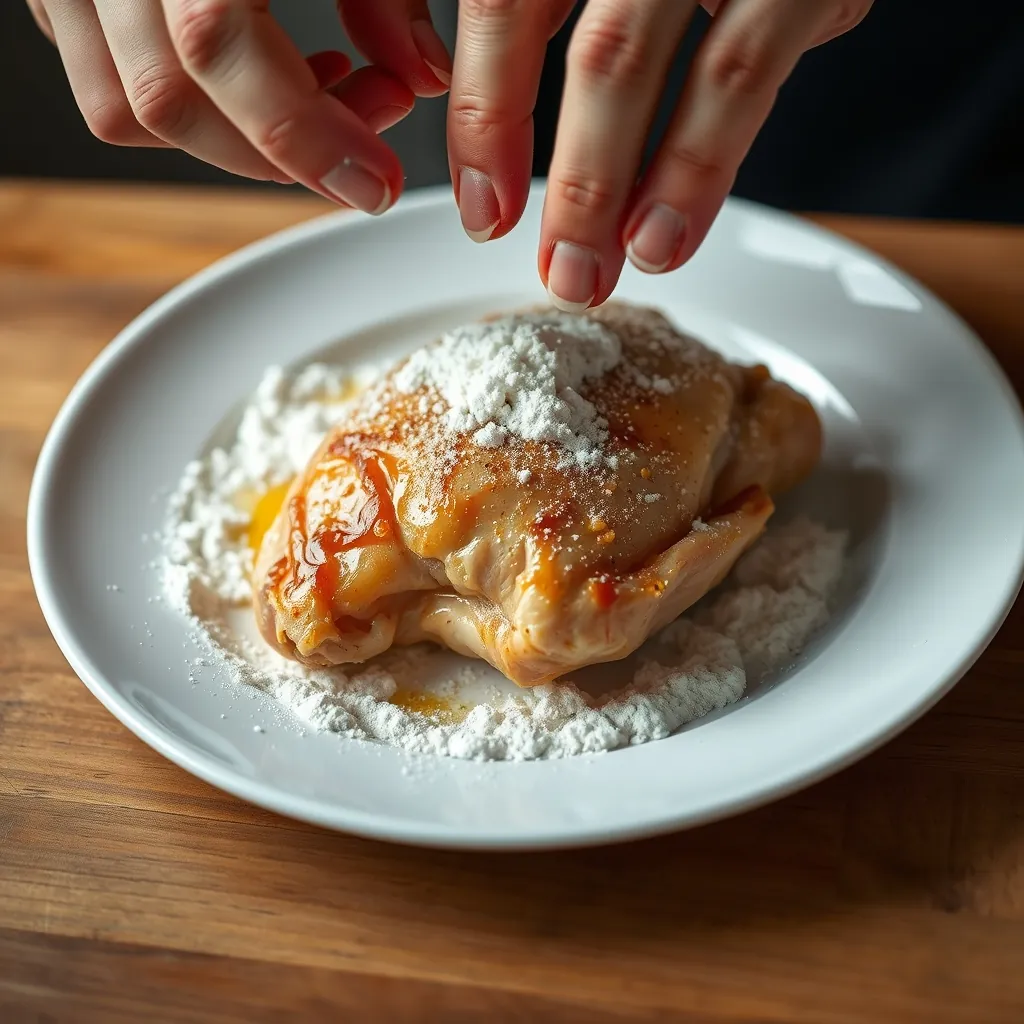
A standard flour coating works well. A great one delivers crunch in every bite. The secret involves two techniques: double-dredging and a touch of baking powder.
The Double-Dredge Method
This process creates a textured, shatteringly crisp crust. Set up a standard breading station. Season your flour generously with salt, black pepper, garlic powder, onion powder, and paprika. After pulling a piece from the buttermilk, let the excess drip off. Coat it in the seasoned flour. Shake off the excess. Dip it back into the buttermilk. Then coat it in flour a second time. That double layer is what creates the craggy, crispy exterior.
The Baking Powder Boost
Add one teaspoon of baking powder per cup of flour. It reacts with the moisture on the chicken surface. This reaction creates tiny air pockets in the crust. The result is a lighter, airier crunch that stays crispy longer.
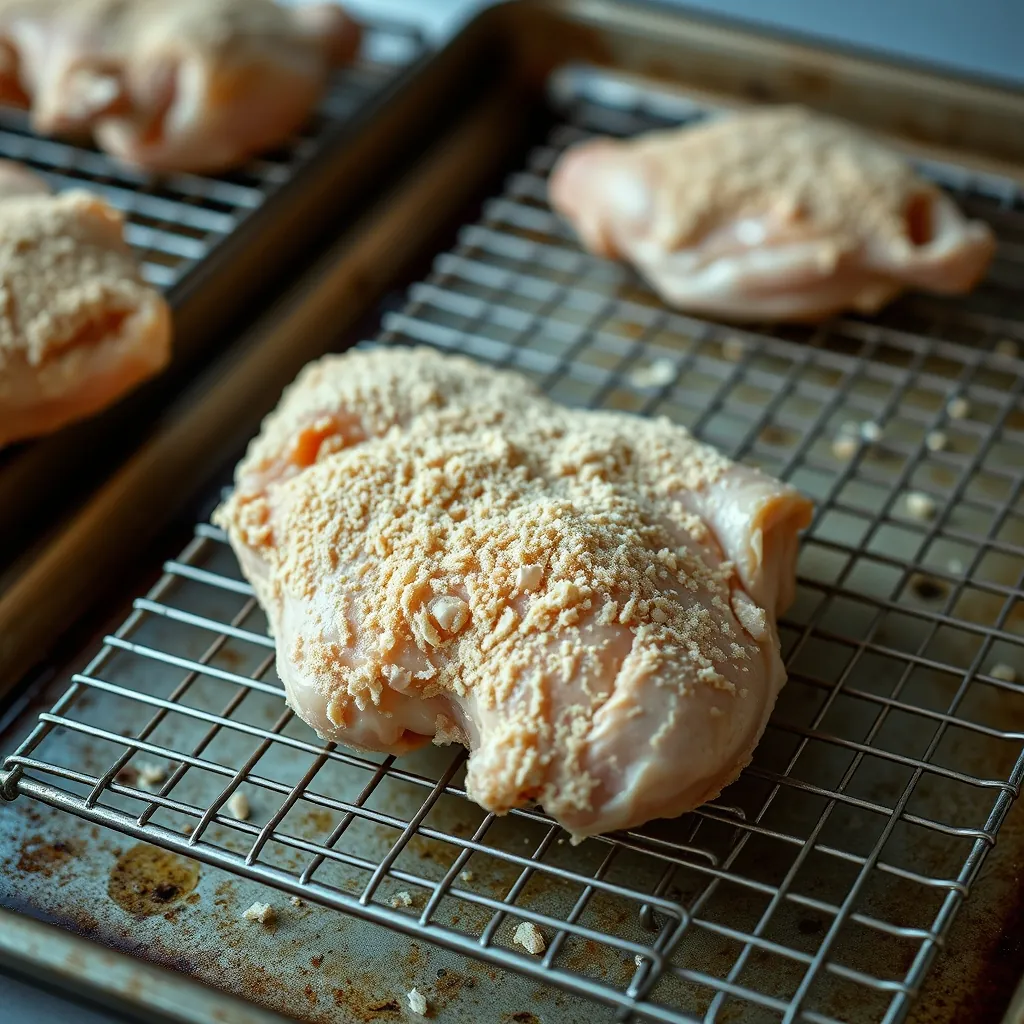
Resting is Non-Negotiable
Do not skip this step. Place your double-dredged chicken pieces on a wire rack set over a baking sheet. Let them rest for 15 to 20 minutes at room temperature. This rest period allows the flour coating to hydrate and set completely. It adheres to the chicken like glue. When you drop it in hot oil, very little breading falls off.
Frying Oil: Choice and Temperature
The oil you choose directly impacts flavor and crispiness. Peanut oil offers a high smoke point and a neutral taste. It is a top choice for deep frying. Canola oil works well and costs less. Lard adds a rich, savory depth that many consider the gold standard for flavor. Avoid olive oil. Its low smoke point leads to burnt flavors.
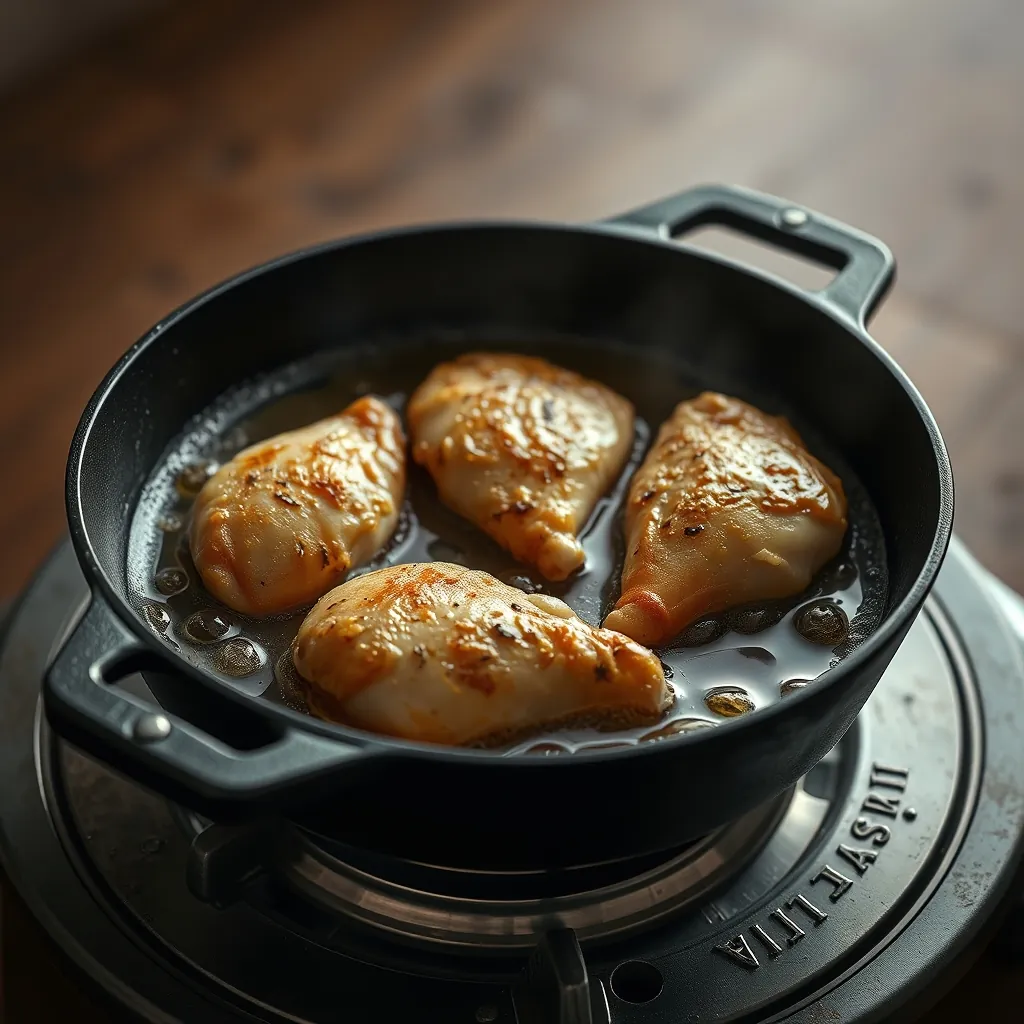
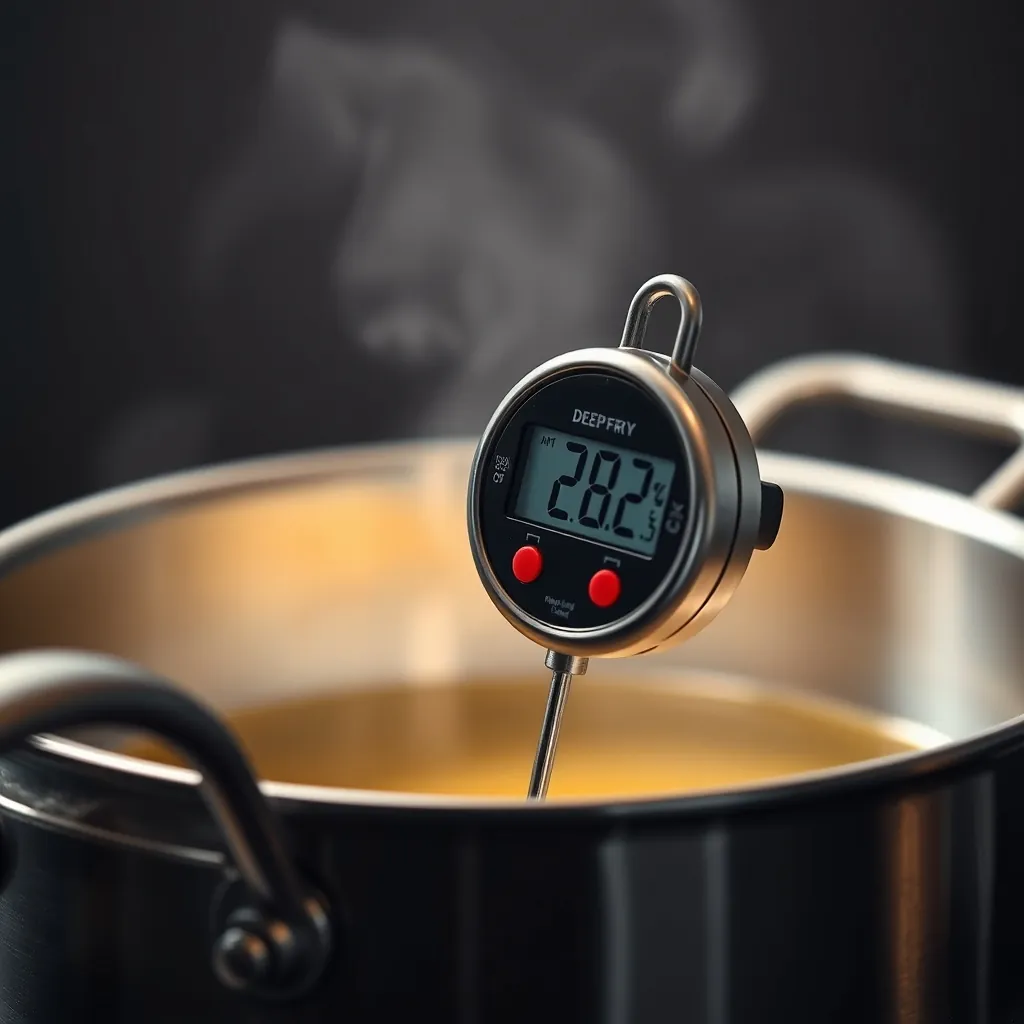
Temperature control wins the frying game. Keep the oil between 325°F and 350°F (163°C to 177°C). A deep-fry thermometer is your most reliable tool. If the oil drops below 325°F, the chicken absorbs grease and turns soggy. If it climbs above 350°F, the crust burns before the inside cooks through. Fry in small batches to maintain a stable temperature. Do not crowd the pot.
Troubleshooting Common Problems
Even experienced cooks face issues. Here is how to fix the most common ones.
- Soggy Coating: The oil was too cool. Check your thermometer. Fry in smaller batches.
- Burnt Crust, Raw Inside: The oil was too hot. Lower the heat immediately and use a thermometer to verify the temperature.
- Breading Falls Off: You skipped the resting step. Always let the coated chicken rest for 15 minutes.
- Greasy Chicken: You overcrowded the pot. Fry in batches and let the finished pieces drain on a wire rack, not paper towels.
How to Make Crispy Chicken Without Deep Frying
Deep frying is classic. It is not the only path to crispy chicken. An air fryer or a standard oven can produce excellent results with less oil.
Air Fryer Method
Preheat your air fryer to 380°F (193°C). Spray the breaded chicken lightly with cooking oil. Cook for 12 to 15 minutes. Flip halfway through. The circulating hot air creates a crunchy crust without submersion in oil.
Oven-Frying Technique
Preheat your oven to 425°F (218°C). Place a wire rack inside a baking sheet. This allows air to circulate under the chicken. Spray the breaded pieces with oil. Bake for 25 to 30 minutes, flipping once. The direct heat crisps the coating effectively.
Dietary Adaptations: Gluten-Free and Keto
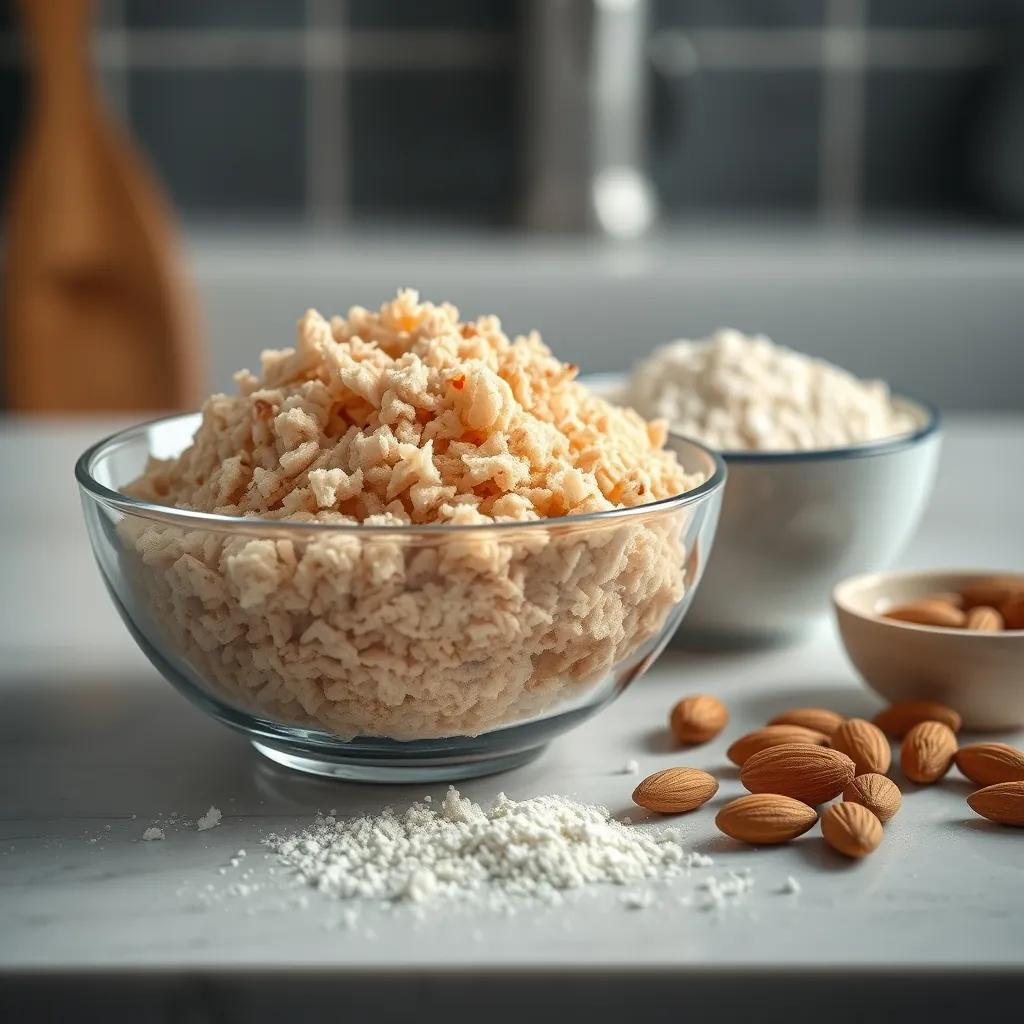
You do not need wheat flour to achieve a crispy crust. For a gluten-free version, use a 50/50 blend of almond flour and arrowroot powder. Add the same seasonings. The double-dredge technique works perfectly with this blend.
For a keto-friendly option, use crushed pork panko. These pork rind crumbs are zero-carb and create an incredibly crunchy, savory coating. They pair especially well with spicy seasonings like cayenne and smoked paprika.
Serving and Storage Tips
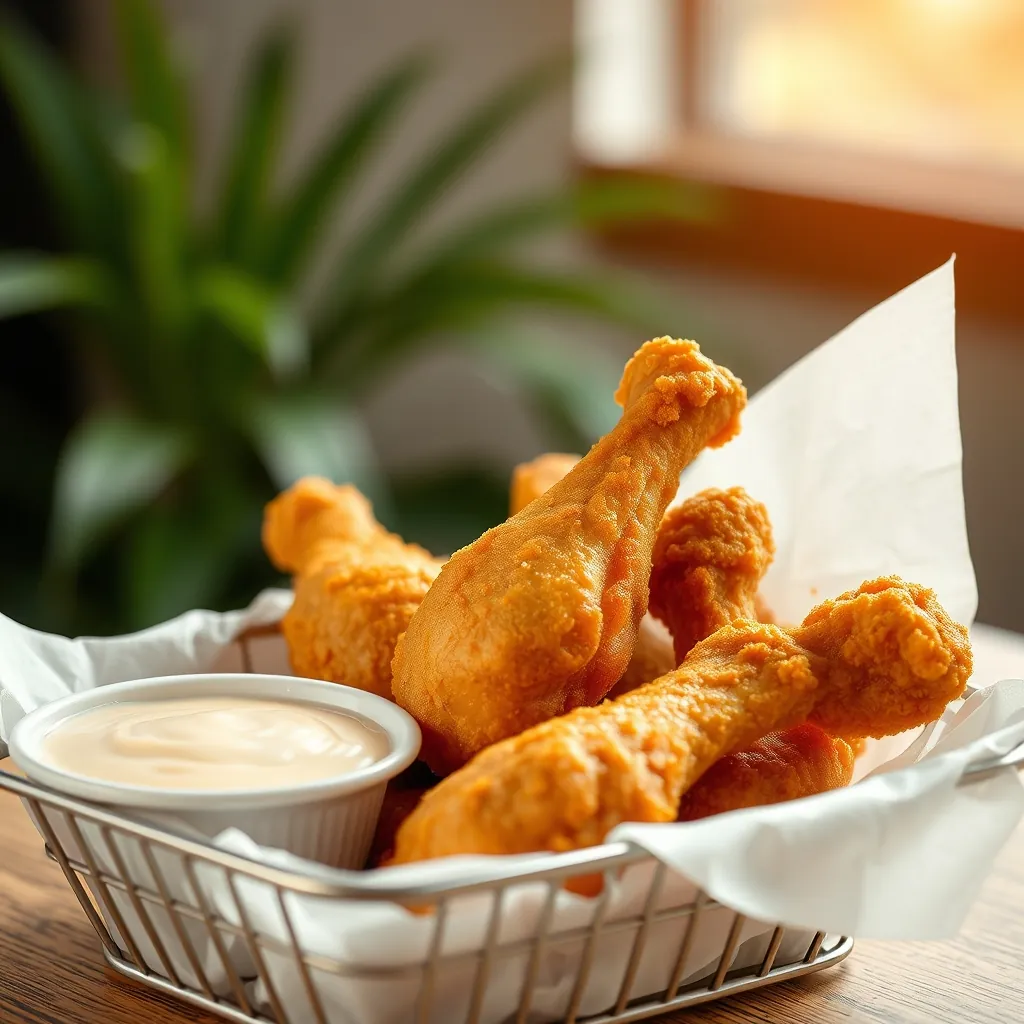
Serve your fried chicken immediately for the best crunch. Classic sides include creamy coleslaw, buttermilk biscuits, and pickles. For leftovers, store them in a paper towel-lined container in the refrigerator. Do not seal them airtight. This traps moisture and ruins the crust. Reheat in a 350°F oven or an air fryer for five minutes. The microwave will make the coating soft and chewy. Avoid it.
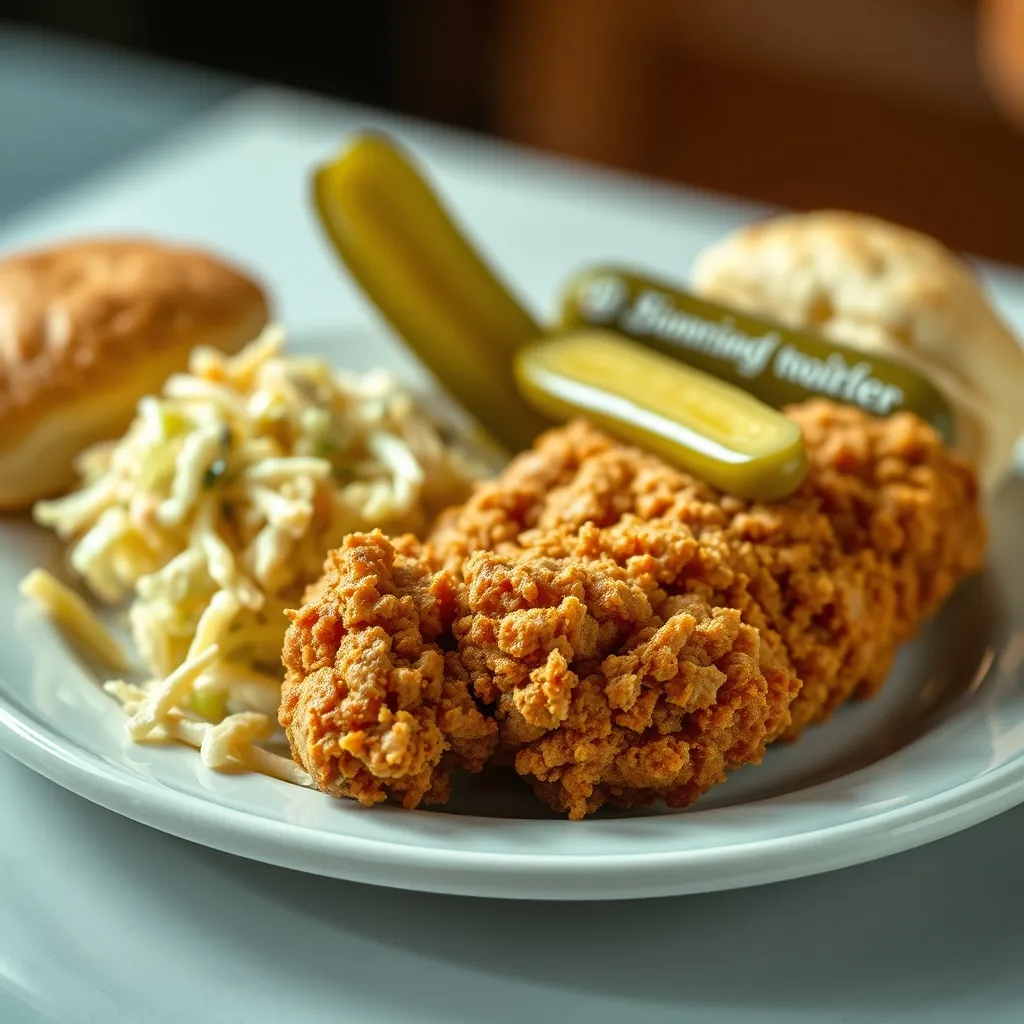
The Ultimate Crispy Fried Chicken
Master the art of perfect crispy fried chicken. This guide covers buttermilk brine, double-dredging, oil temp, and gluten-free options.
Ingredients
- 4 chicken pieces (drumsticks, thighs, or breasts)
- 2 cups buttermilk
- 2 cups all-purpose flour
- 1 teaspoon baking powder
- 1 teaspoon salt
- 1 teaspoon black pepper
- 1 teaspoon garlic powder
- 1 teaspoon onion powder
- 1 teaspoon paprika
- Peanut oil, canola oil, or lard for frying
Instructions
- Soak chicken pieces in buttermilk for at least 4 hours or overnight in the refrigerator.
- In a bowl, mix flour, baking powder, salt, pepper, garlic powder, onion powder, and paprika.
- Remove chicken from buttermilk, letting excess drip off. Dredge in seasoned flour, shake off excess, dip back into buttermilk, then dredge in flour again.
- Place double-dredged chicken on a wire rack and let rest for 15-20 minutes at room temperature.
- Heat oil in a deep pot to 325°F-350°F (163°C-177°C) using a deep-fry thermometer.
- Fry chicken in small batches for 12-15 minutes, until golden brown and internal temperature reaches 165°F (74°C).
- Drain on a wire rack and serve immediately.
Leave a Reply